| This post discusses about how to create a visual web part for SharePoint 2010 using Visual Studio 2010. Visual Web Parts can be developed on Visual Studio design surface which is as easy as drag and drop controls in asp.net application.
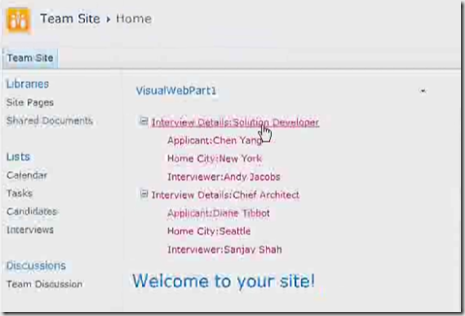
The web part which we are going to create is standard asp.net tree-view control which shows Interview Events and candidates who attend those interviews. We are going to use two lists from the SharePoint site and joining those two lists using LINQ. |
  |
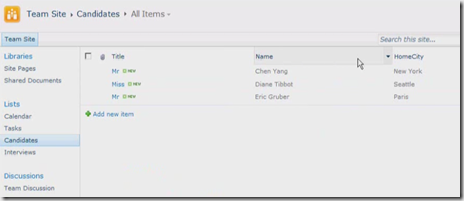
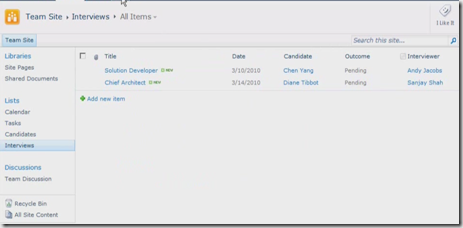
The two lists which we are using are Candidates list and Interviews list as shown below.
Candidates List
Interviews List
The lookup column for Interviews list is Candidate name column. We can use this column to join information from the both list and to display in visual web part.
As we are using LINQ to retrieve the information from SharePoint list, We can generate entity class which provides an object oriented interface to the SharePoint data. You can find the tool in Microsoft Shared/Web Server Extensions / 14 / Bin folder
It can generate the files in either VB or C# programming language. This can be mentioned in the command line. Now start building the Visual Web Part.
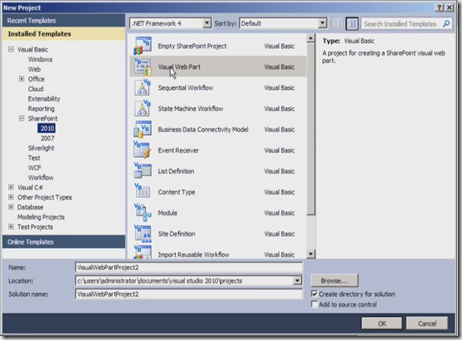
Create a new project in visual studio 2010 and select the project type Visual Web Part from the template dialogue box as shown below
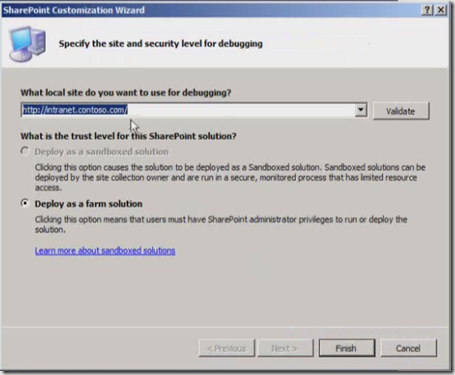
Select the deploy as a farm solution option as shown below
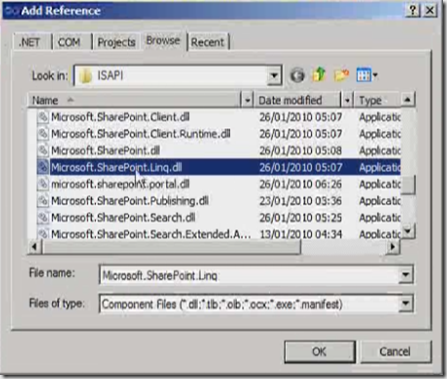
Add a SharePoint LINQ dll as a reference to the project.
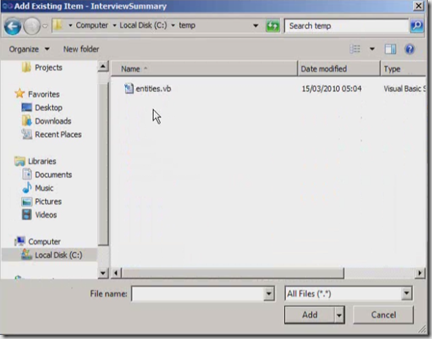
Add the entities file which we have created earlier.
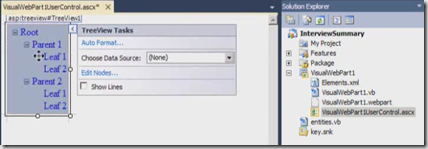
Using the design surface you can drag and drop the web controls, Drag the tree view control to the surface.
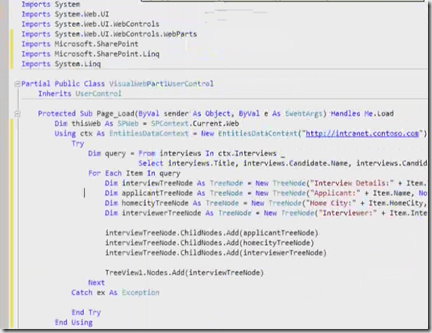
Add some code to populate the nodes in Tree view control. Import the necessary namespaces to your code. Create objects for web context and data context. Now write the query to retrieve the data from SharePoint list.
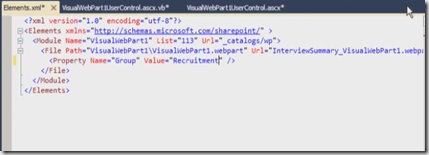
Change the category name where you want to deploy the webpart in elements.xml file
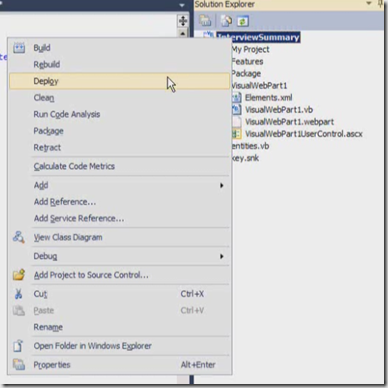
To deploy the webpart to the SharePoint site just right click the project and say Deploy
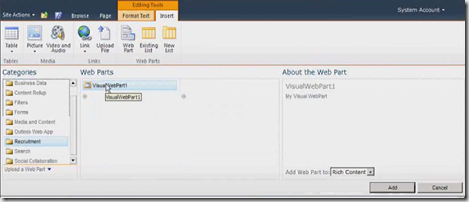
Add the deployed web part to the page as shown below
The resulted webpart on the page looks as below
| Share this post : |  |
 |
 |
 |
 |


[…] and drop controls in asp.net application. The web part which we are going to create is standard… Read more… Categories: .NET SharePoint Visual Studio 2010 […]
Hi,
I was reading your article and I would like to appreciate you for making it very simple and understandable. This article gives me a basic idea of SharePoint and it helps me a lot. Thanks for sharing with us. I had been reading another nice post over the internet since last night which is also having a wonderful explanation on creating and deploying webparts in sharepoint, you may also check that post by visiting this link…
http://mindstick.com/Articles/9e1d1fe1-7e51-4d01-86ec-f1f679631a7e/?Create%20and%20Deploy%20Visual%20WebPart%20in%20SharePoint%202010
Thanks everyone for yours wonderful post.